Web HostingBudget-friendly shared hosting plans
 Domains SearchFrom .com to unique country domains, explore and register extensions worldwide.
 WordPress HostingPower your blog or business with WordPress hosting.
 Email HostingSimple, secure email hosting that helps you stay connected and professional.
 Reseller HostingStart your own hosting business with easy and reliable reseller hosting plans.
 AffiliateJoin our affiliate program and earn commissions every time you bring in new customers.
 cPanel HostingHosting powered by cPanel, the world’s most user-friendly control panel.
 Windows HostingBuilt for Windows applications and websites
 IN Domain PricesDon’t miss out on the best domain deals in India!
 WHOIS LookupFind out who owns a domain name with a quick and easy WHOIS search.
 .Com DomainGet the most trusted domain for worldwide credibility
 All TldsSearch and register domain extensions worldwide.
 VPS HostingPowerful virtual servers. Full root access. Reliable uptime.
 Managed VPS HostingNot a tech expert? Choose our fully managed VPS service.
 Dedicated ServersTake full power and total control of your own physical server.
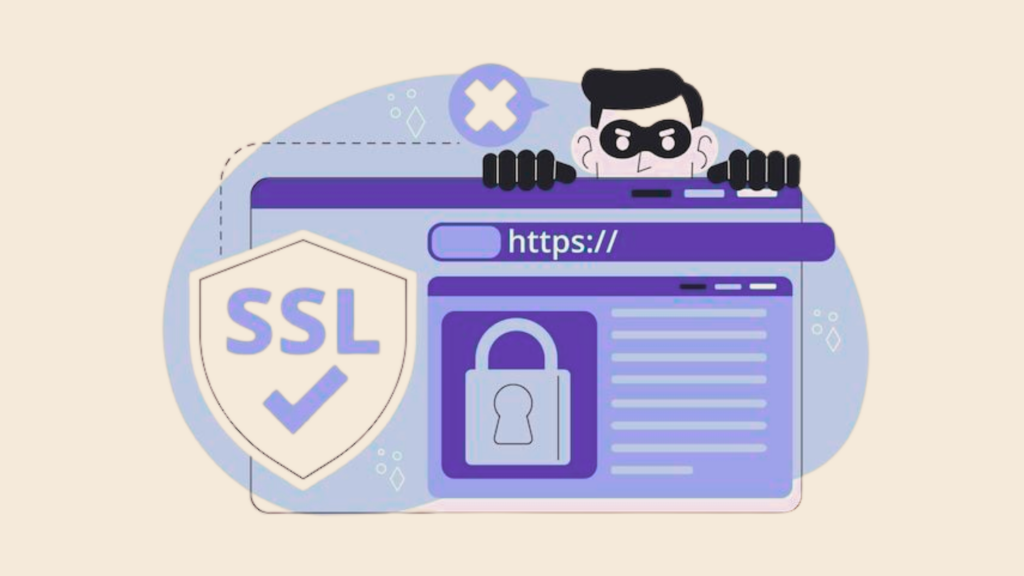
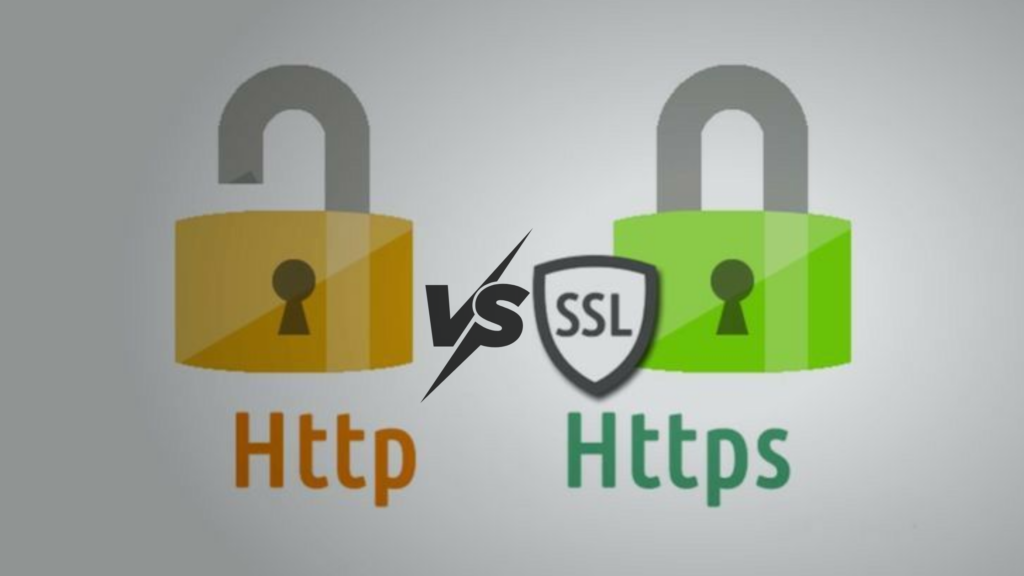
A website can be beautiful, fast and even have the best content there is out there, but if it is not secure, people leave in a matter of seconds.
With over 700 million internet users, India is booming in e-commerce and fintech customers. These said customers already have a high expectation for your website. So, the moment they see that ‘Not Secure’ label, they bounce so fast. And rightfully so! Because, I mean, no product or service is worth risking your personal data over.
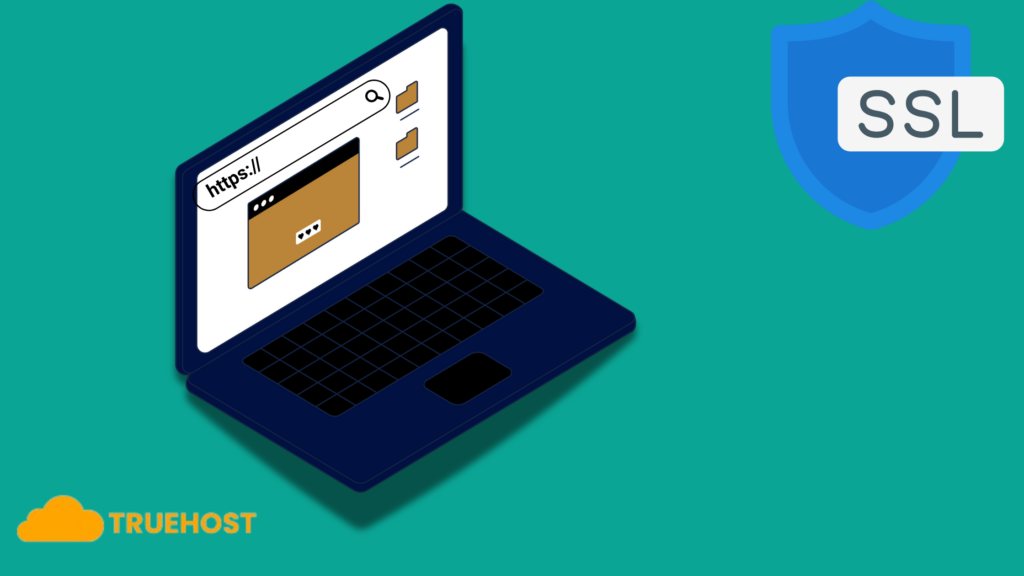
The good news is HTTPS setup is not as complicated as it looks or sounds. With Truehost, you can switch your site from HTTP to HTTPS in just a few steps. And start reaping the benefits immediately. Let us get into it then!
Why HTTPS Setup Matters for Your Website in India
I like to think of a HTTPS setup as a website’s shield. Your website’s shield. It protects not just your data but also enhances your visitor’s trust in you. In a place like India, website security has become a top priority and a business requirement especially since almost everything is being done online. Be it digital payments, online banking and even e-commerce. So, you see, when your site is not HTTPS enabled, not that many people will risk trusting your site.
Beyond customers and visitors, search engines, especially Google, openly favor HTTPS enabled websites when it comes to rankings. Rankings are what get you seen by more people. It shows people that you are a legitimate person, someone they can trust.
On the flip side, if your site is still running on HTTP it is marked as “Not Secure” in browsers, which instantly raises red flags for visitors. This single label can scare off potential buyers, readers, or subscribers in seconds, no matter how beautiful your site looks or how great your products are.
And here is the thing, with a growing digital ecosystem like in India, there is a rise in security breaches. This means that even small security gaps can be exploited. An HTTPS setup ensures data exchanged between your site and its visitors is encrypted. This reduces the risk of interception or tampering.
In short, it is your first line of defense, your silent salesperson, and a big green signal for both search engines and human visitors that your site is safe to use and worth trusting.
Prerequisites Before You Start HTTPS Setup
Before you get into an HTTPS setup, you will need a few basics ready:
- A registered domain name: You can buy a .in domain from Truehost for a local touch or choose a .com for global reach.
- A hosting plan that supports SSL/TLS: This is like having a sturdy foundation before building a house. Without it, your secure connection simply won’t work. Most Truehost plans already have SSL support baked in, which saves you the headache of extra configuration.
- Access to your hosting control panel: This could be cPanel, Plesk, or the Truehost Client Area. You will need it to complete your HTTPS setup.
Having these in place before you start means your HTTPS setup will go smoothly, with no last-minute “I’m missing something!” moments.
Read More on .In vs .Com: Which Domain Extension Is Right for You?
Choosing the Right SSL Certificate
When you are on the quest of securing your website and HTTPS setup, SSL certificate is one of those terms you will hear being thrown around. An SSL certificate is short for Secure Sockets Layer certificate. It is simply a certificate that verifies a website’s identity and enables an encrypted connection between a web server and a browser.
In simple terms, it helps ensure that indeed a website is who they claim to be and that any information being put there will not be used for any malicious work either by the owner or any middle person who might try to intercept the data. SSL certificates are what add that HTTPS sign to a website.
SSL certificates come in different types though, all serving a different HTTPS setup.
- Domain Validated (DV): For small blogs, portfolio sites, or micro-businesses in India, a Domain Validated (DV) SSL is usually more than enough. It is quick to get, affordable, and does the job of encrypting your visitors’ data.
- Organization Validated (OV): This one verifies your business identity for added trust.If you are running a growing business, especially in sectors like fintech or e-commerce, you might consider this one.
- Extended Validation (EV): This is the most secure, and is often used by banks and large corporations. These offer extra trust indicators like showing your business name in the browser bar.
At Truehost, we not only include free DV SSL certificates with most of our hosting plans so you can start your HTTPS setup without spending extra, but we also offer premium SSL options if you want that extra layer of authority.
Installing Your SSL Certificate via Truehost
Here is where the magic happens. We make installing SSL, and starting your HTTPS setup, super straightforward:
Log into the Truehost Client Area
Head over to the Truehost Client Area and log in with the email and password you used when signing up. This is the place where you manage everything related to your hosting, from files and domains to security settings.
Go to Manage Hosting
Once inside, find the hosting account that is linked to the domain you want to secure. Click on Manage Hosting.
Navigate to Security → Install SSL
In your hosting dashboard, locate the Security section. Under it, you will see the Install SSL option.
Choose Your Domain and Install
Pick the exact domain you want to secure. If you are going for the free SSL option, simply hit Activate and let the system handle the setup. For premium SSLs like OV or EV, upload the certificate files provided by us. Installation usually takes less than 10 minutes.
Test Your HTTPS Setup
Finally, visit SSL Labs or a similar tool to verify everything is working. When you see the green padlock, you will know your HTTPS setup is officially live.
Updating Your Website to Use HTTPS
Installing SSL is step one, telling your website to actually use it is step two.
Change Your Site URLs in the CMS
In WordPress, head to Settings → General and update both your WordPress Address and Site Address so they start with https://. This ensures every new page, post, and media file uses the secure protocol automatically.
Force HTTPS Across Your Site
Even if your URLs are updated, visitors might still land on the old HTTP version from bookmarks or old links. To fix this, enable Force HTTPS in your hosting control panel, or add a redirect rule in your .htaccess file.
Update Hardcoded Links
Check your site for images, scripts, or internal links still using http://. These can cause mixed content warnings, making your site look less secure. Replace them with https:// versions to maintain trust and avoid browser alerts.
With these updates in place, your entire website, from homepage to blog posts, will always load securely, no matter where your visitors come from.
Testing and Troubleshooting HTTPS Setup
Even with a perfect install, small issues can pop up. Here is how to check:
Spot and Fix Mixed Content Errors
Mixed content errors happen when your page loads via HTTPS but tries to fetch some elements like images or CSS via HTTP. This confuses browsers and stops the padlock from appearing.
Use Browser Developer Tools
Open Chrome, right-click anywhere on your page, choose Inspect, and head to the Console tab. Any insecure content will be flagged here, making it easier to identify and fix.
Scan with Why No Padlock
For a quick, automated check, run your site through Why No Padlock. It scans for insecure resources and tells you exactly what needs updating.
Apply Common Fixes
Replace insecure links with secure ones, and if you are on WordPress, install Really Simple SSL to handle redirects and mixed content fixes automatically. After making changes, clear your browser and site cache so you are seeing the updated, secure version.
Once no warnings remain, your browser’s padlock icon will proudly show that your HTTPS setup is rock-solid.
Extra Security Tips After HTTPS Setup
Your site is now running securely! But don’t stop here. To make your security airtight:
Enable HTTP Strict Transport Security (HSTS)
HSTS forces browsers to connect to your site only over HTTPS, even if someone tries to visit the HTTP version. You can activate it in your hosting control panel, giving your visitors an extra layer of automatic safety.
Stay on Top of Renewals
SSL certificates have expiration dates. If yours lapses, visitors will see scary warnings. Truehost’s free SSL auto-renews, but if you are using a premium one, set reminders to renew at least a week in advance.
Layer Your Security
Add a firewall, enable malware scanning, keep your CMS/plugins updated, and use strong, unique passwords for all admin accounts.
Security is a continuous process, and these extra measures ensure your site remains safe long after your HTTPS setup is complete.
Parting Thoughts
Making the move to HTTPS in India is a must for your website’s safety, your visitors’ trust, and your brand’s growth. With Truehost’s free SSL and simple tools, your HTTPS setup can be done in minutes, without any confusing tech talk.
Every click, form submission, or payment happens behind a layer of protection your visitors can count on. They will trust you more, stay longer, and come back again. Search engines will reward you too, helping your site climb higher in results.So why wait? Start your HTTPS setup with Truehost today and lock in the trust, safety, and growth your website deserves.